This is a tutorial that I made a while back. I just wanted to share it here on my blog too:)
Polymer Clay Covered Light Switch Plate Tutorial~
supplies:
light switch plate
polymer clay
liquid polymer clay
pasta machine
various tools
light switch plate
polymer clay
liquid polymer clay
pasta machine
various tools

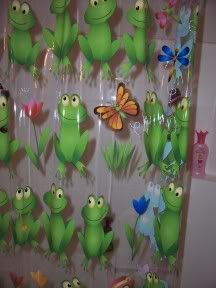
find inspiration
start with a blank light switch plate (plastic or wood are easiest...metal and ceramic would need extra prep work)
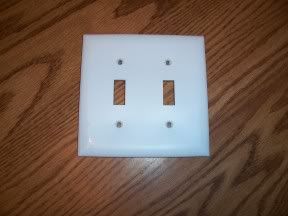
rough up surface
it will help the clay adhere better
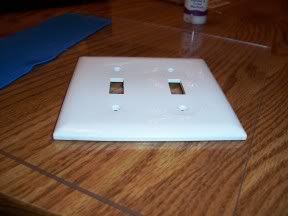
cover surface with a thin layer of liquid polymer clay
roll out clay with the pasta machine (I used setting 3)
you want it thin, but not so thin that it is hard to work with
*if you don't have a pasta machine, you can just cover the plate with small hand flattened pieces of clay...you can use different color pieces to get a mosaic effect
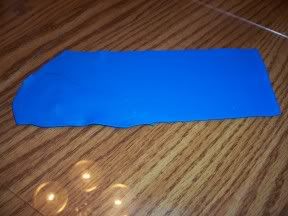
place flattened clay on plate
you may have to use more than one piece, just smooth seam
trim off excess clay on back
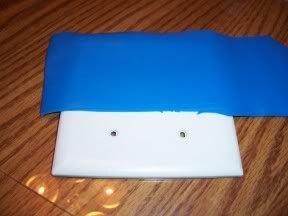
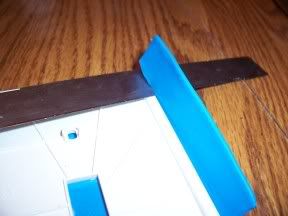
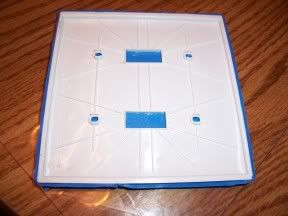
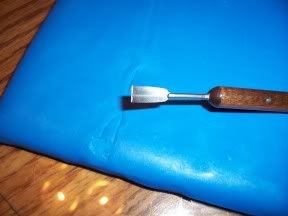
next...decorate!
this is the fun part!
use inspiration from the room the switch is for to get ideas
if you feel that your background is not smooth or imperfect in spots...you can use various tools to make impressions or designs to cover them
be aware of where you will have to cut the holes for the switches and screws
don't forget to use a tiny bit of liquid polymer clay to attach the clay pieces that you add

cut holes for the switches and poke holes for the screws
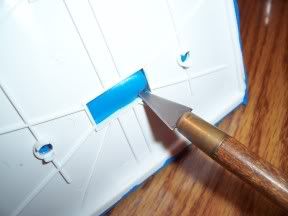
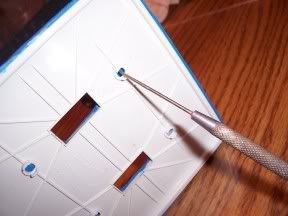
clean up all edges
trim excess clay and smooth
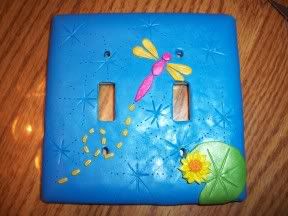
bake according to directions on clay package...
cool...
and hang!




6 comments:
Very cool tutorial.
Wow, how cool is this?
wow! those are really fun. so you can bake the light switch plate with the polymer without a problem?
Yes. I have never had a problem. Most polymer clays bake at 275 degrees, so it is not a super high temp.
P.s. I am so glad you guys like this tutorial:)
How creative!
Oh my, those are awesome! Once we get moved into our new house, I'll definitely keep these in mind.
Post a Comment