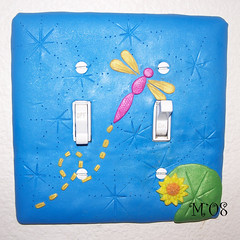
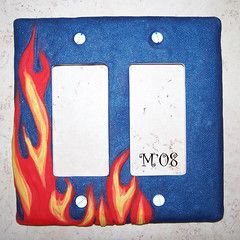
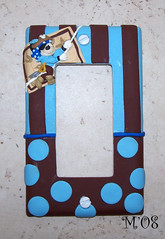
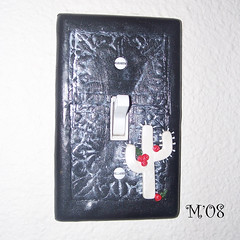
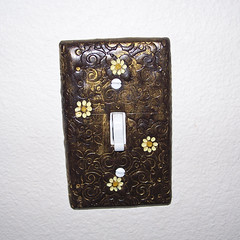
Showing posts with label light switch plate. Show all posts

Tuesday, October 27, 2009

Recent custom orders

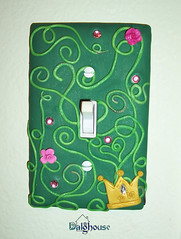
A pink and purple princess castle light switch plate~
A golfing snowman ornament~

Monday, October 19, 2009

Custom order and my first attemp at soldering!

Here is a custom polymer clay light switch plate that I made. It is going in a really cute nursery:

I finally got up the nerve to try making a soldered glass pendant. I've had a kit that I bought off of Etsy for like...2 years now! I still need a lot of practice, but I can say that the soldering iron and solder do not intimidate me anymore. It wasn't as scary as I thought it would be. I'm most proud that I was able to solder on the bail. The picture is of my grandparents, and on the back it says love.

Here is a great online video that I found: Soldered Collage Charm/Pendant using Glass Slides. I also have this book: Simple Soldered Jewelry & Accessories: A Crafter's Guide to Fashioning Necklaces, Earrings, Bracelets & More.

Saturday, October 10, 2009

Surf's Up

Here are the polymer clay covered light switch plate and outlet cover that I just finished. They are for my surf themed bathroom.


Okay, now to get to work on the buttons and ornaments...that I should have been working on!

Saturday, June 20, 2009

New to my shop...

Let There Be Light Daisy Polymer Clay Covered Light Switch Plate

Sweet Summer Watermelon and Watermelon Girl Polymer Clay Bead Set


Tuesday, June 9, 2009

Custom Light Switch Plate

A custom order that I just finished:
Custom Polymer Clay Covered Light Switch Plate
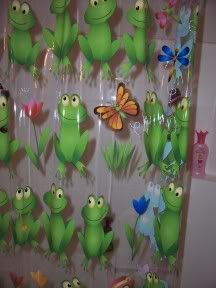
If you would like one... I sell them in my Etsy shop.

Tuesday, December 16, 2008

Polymer Clay Covered Light Switch Plate Tutorial
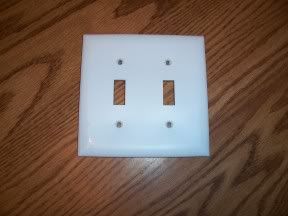
This is a tutorial that I made a while back. I just wanted to share it here on my blog too:)

Polymer Clay Covered Light Switch Plate Tutorial~
supplies:
light switch plate
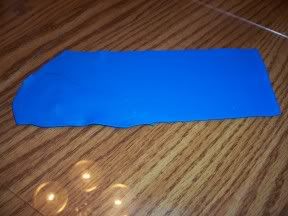
polymer clay
liquid polymer clay
pasta machine
various tools

find inspiration

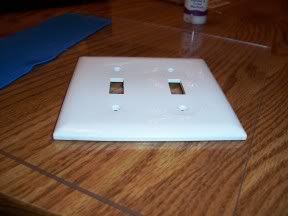
start with a blank light switch plate (plastic or wood are easiest...metal and ceramic would need extra prep work)
***please test bake your plastic switch plate before using. Some will melt, warp or bubble***

rough up surface
it will help the clay adhere better

cover surface with a thin layer of liquid polymer clay

roll out clay with the pasta machine (I used setting 3)
you want it thin, but not so thin that it is hard to work with
*if you don't have a pasta machine, you can just cover the plate with small hand flattened pieces of clay...you can use different color pieces to get a mosaic effect

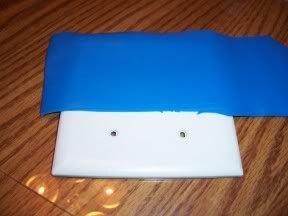
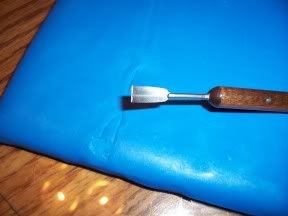
place flattened clay on plate
you may have to use more than one piece, just smooth seam
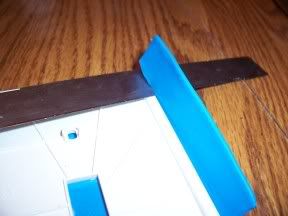
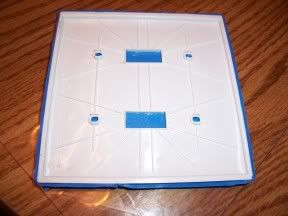
trim off excess clay on back


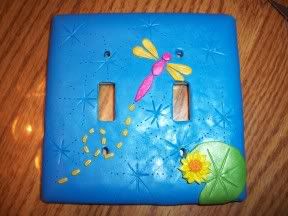
next...decorate!
this is the fun part!
use inspiration from the room the switch is for to get ideas

if you feel that your background is not smooth or imperfect in spots...you can use various tools to make impressions or designs to cover them

be aware of where you will have to cut the holes for the switches and screws

don't forget to use a tiny bit of liquid polymer clay to attach the clay pieces that you add

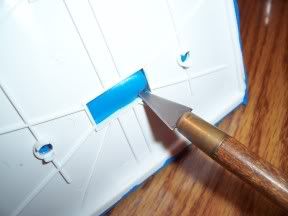
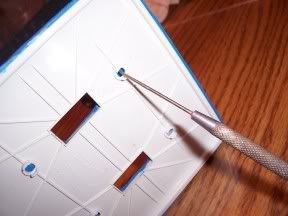
cut holes for the switches and poke holes for the screws


clean up all edges
trim excess clay and smooth

bake according to directions on clay package...

cool...

and hang!


If you would like me to make a custom light switch plate for you...I have them in my Etsy shop.
Here are some others that I have made: