Monday, May 10, 2010

Recent Custom Orders


Sunday, May 9, 2010

Wednesday, May 5, 2010

Chicken Wire Jewelry Holder: Tutorial (Perfect for Mother's Day!)

Chicken Wire Jewelry Holder: Tutorial
This would make a wonderful Mother's day gift.
It can be made out of any frame...size...design...shape...etc...
Here is my finished jewelry holder.
It was loaded up for a craft fair that I did:
Let's get started!
All you really need is a picture frame, chicken wire, wire cutters and some hot glue (clothes pin is optional).
I will show you how I painted mine also...
but you can use a finished frame to save you some time.
You might also want to get a frame stand to help prop it up...
or you can prop it up against a wall or hang it up on the wall.
I painted an unfinished frame brown.


Then, I brushed on a golden yellow color on top of the brown.


I took a wax candle and rubbed it on the parts of the paint that I wanted to show up through the next layer of paint.

I painted on my top color.


Then, lightly sanded it to reveal the bottom two colors of paint.


I printed it out,
and painted it with acrylic paints.


Cut them out and map out your placement.


I attached them to the frame with mod podge.

Then, coated the entire frame with the mod podge to seal it.


Chicken wire time!
Cut the chicken wire to fit in the frame with your wire cutters.
You can use the glass as a size template.
I then hot glued the wire to the inside to add extra strength.
I also bent the little pieces of metal that hold in the picture to help hold in the wire.
You can stop here if you would like!
or you could...


Glue on a clothes pin (painted the color of the frame)
to hold necklaces, bracelets, etc...
I also added a felt flower to the side.
Finished:)


Monday, May 3, 2010

Fun with Clay

I had some fun with my clay yesterday!
A moon inspired piece of art:

A cake topper for my favorite nephew:)

Saturday, May 1, 2010

Recent Custom Orders

I love doing custom orders!
Here are some that I have recently finished:


Need something made out of clay?
check out my Etsy shop!

Friday, April 30, 2010

Tile Trivets and Coasters: Tutorial

Here is the tutorial for the tile trivets and coasters.
You don't have to paint your own tiles if you don't want to.
You can use this tutorial to turn any of your favorite tiles into coasters or trivets!
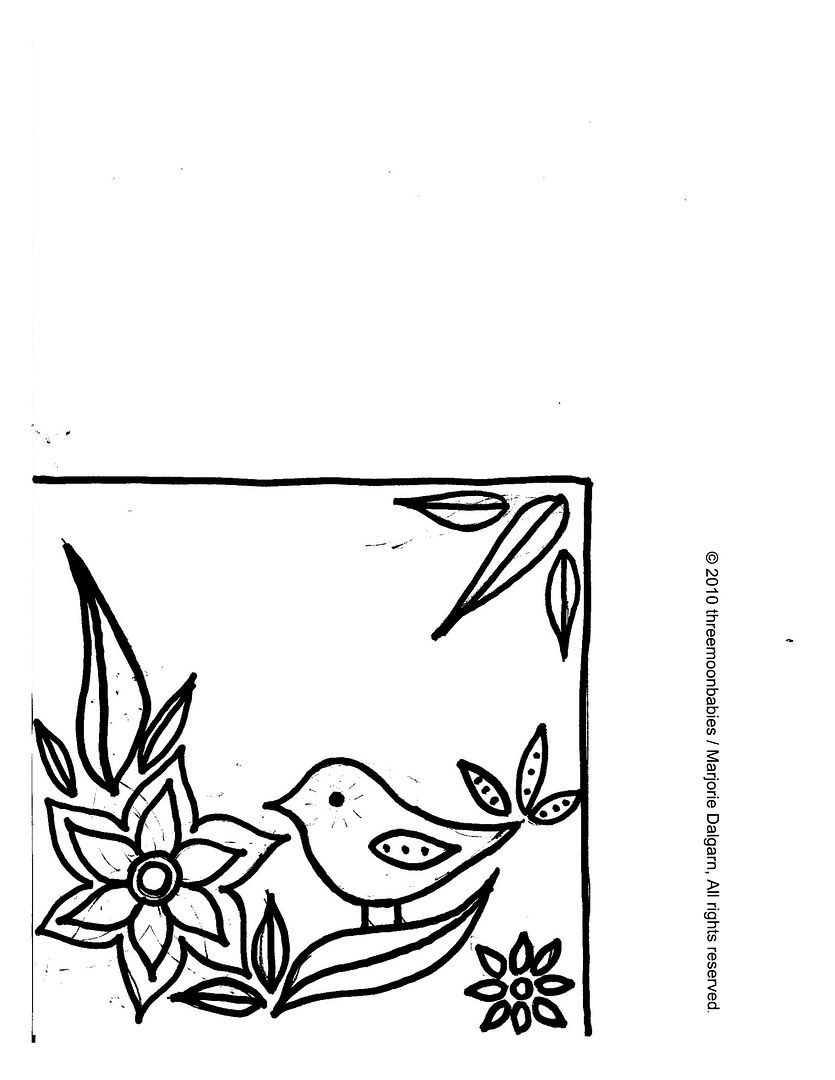
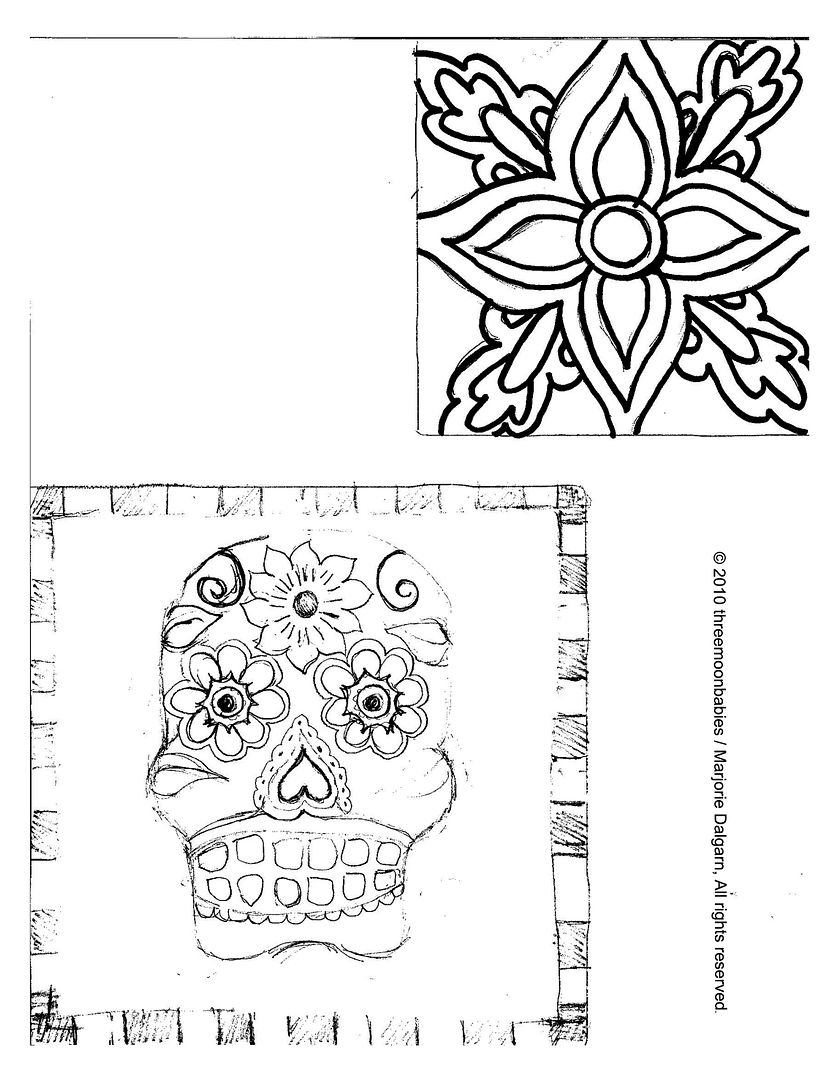
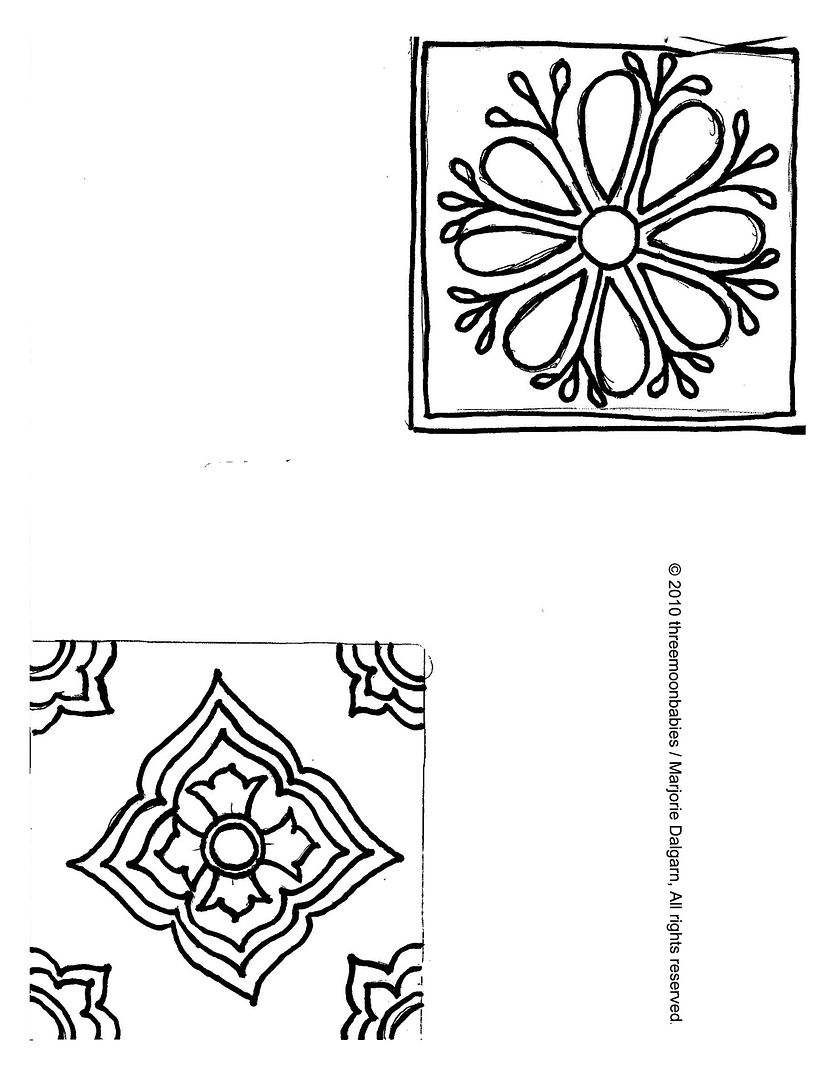
Here are the tile images that I drew for the tiles pictured.
Feel free to use them for your own creations.
If you are going to paint on your own design,
you will need:
blank tiles
acrylic paints for glass and ceramics...
(if you have a kiln, you can use ceramic glazes too)
pencil
cork board
(I found cork tiles at Walmart)
wood glue
box cutter/razor blade knife
how to transfer your image to the tile:
color on the back of the image with your pencil
making sure to cover the whole image that is to be traced


center and tape image to tile
with the pencil colored area facing the tile
image to be traced should be face up

take a pen and trace your image


when you take the paper off...
you should see your image on the tile!


paint the image in.
bake (or fire) your tile according to the directions on the paint
(p.s. I also think that contact paper stencils would be a great way to add designs to your tiles)


now to cut the cork.
for the smaller tiles (4.25 in.), I cut 3.5x3.5 inch pieces of cork
for the larger tiles (6 in.), I cut a 5.25x5.25 in. piece of cork
mark with a pen/sharpie


on a safe cutting surface, cut with your knife


I used wood glue to attach the cork to the tiles


apply glue


center the cork on the bottom of the tile
let dry....


Now, you have a nice little piece of art to place your warm cup of coffee on:)
These would also be great in bathrooms...put soap on them, etc...!

Thursday, April 29, 2010

An Interview

You can read my interview over at SYTYC today.
Thanks Missy!

picture will made more sense after you read the interview:)