Friday, April 30, 2010

Tile Trivets and Coasters: Tutorial

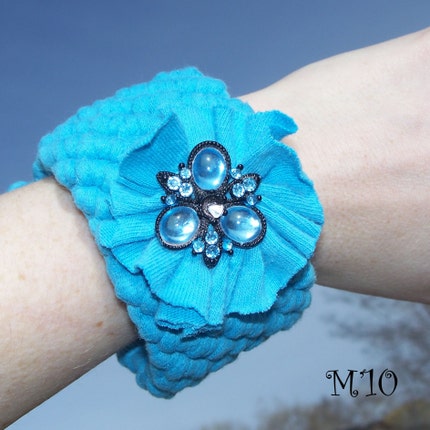
Here is the tutorial for the tile trivets and coasters.
You don't have to paint your own tiles if you don't want to.
You can use this tutorial to turn any of your favorite tiles into coasters or trivets!
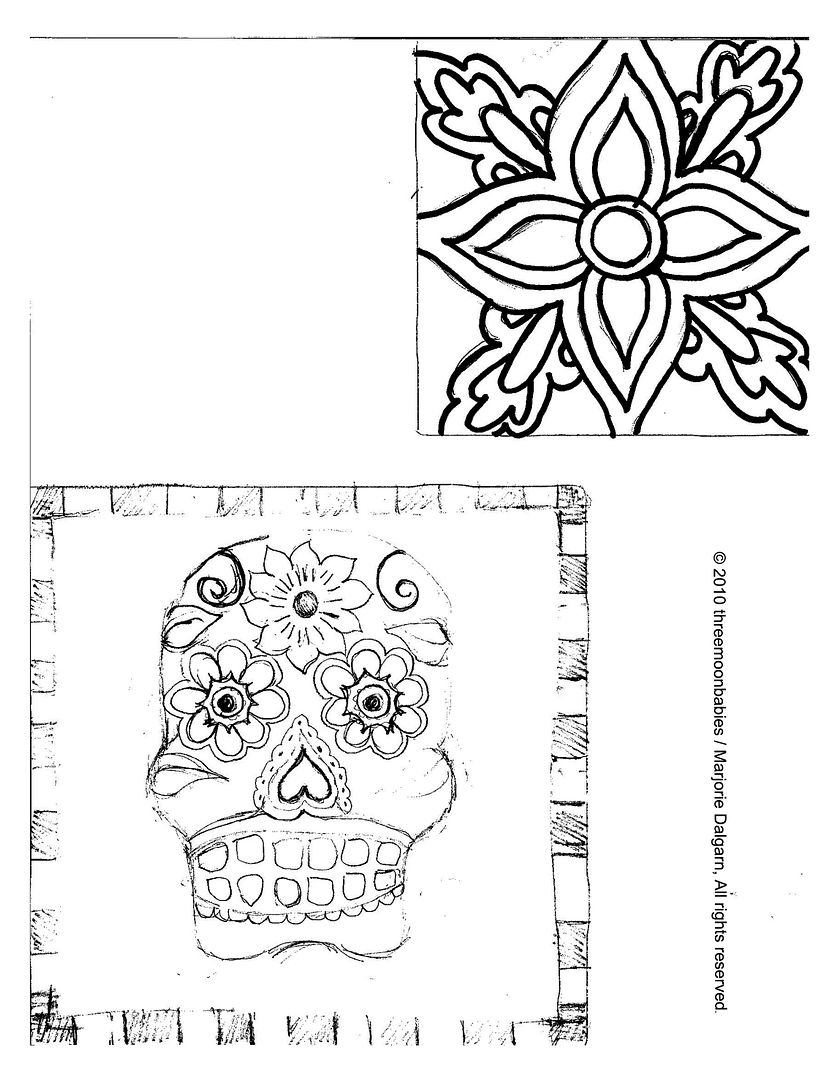
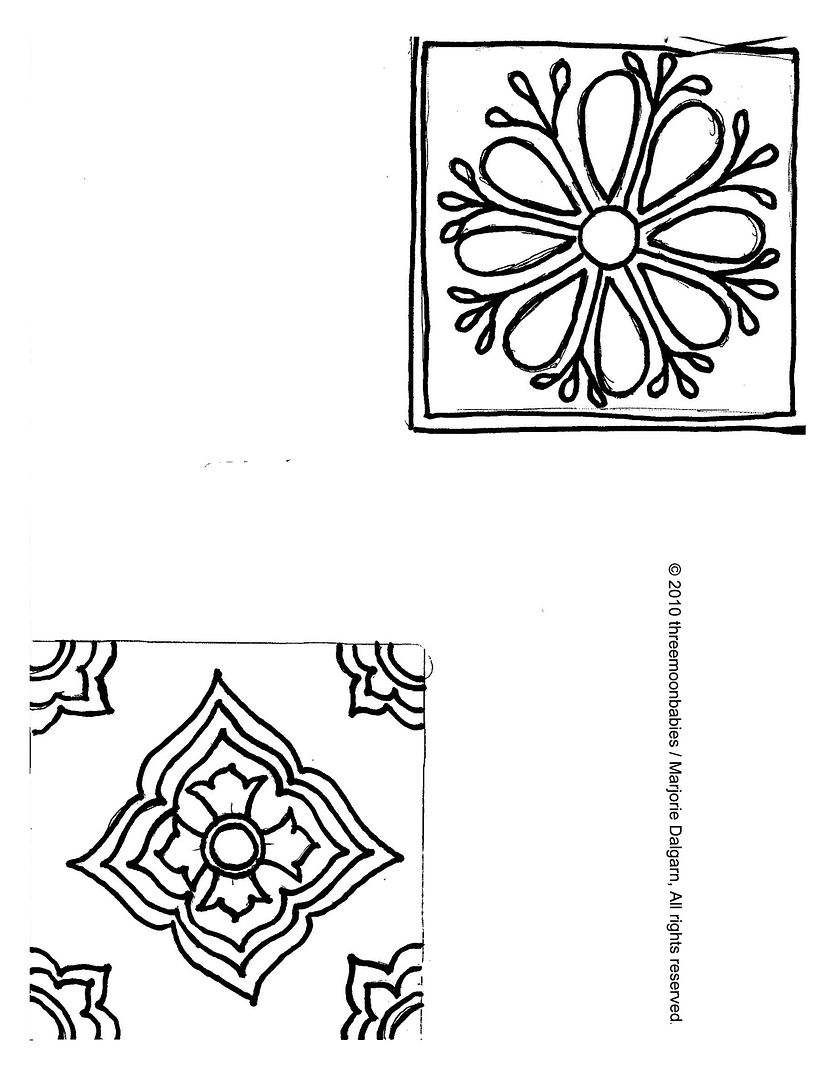
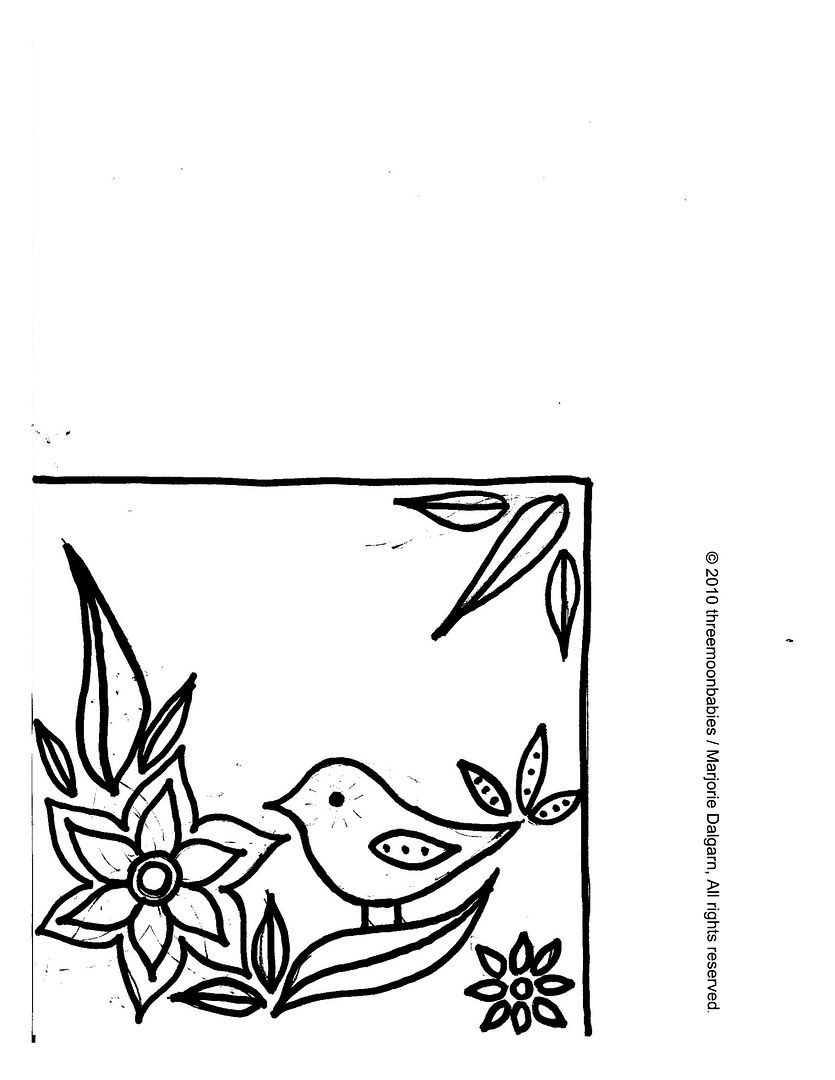
Here are the tile images that I drew for the tiles pictured.
Feel free to use them for your own creations.
If you are going to paint on your own design,
you will need:
blank tiles
acrylic paints for glass and ceramics...
(if you have a kiln, you can use ceramic glazes too)
pencil
cork board
(I found cork tiles at Walmart)
wood glue
box cutter/razor blade knife
how to transfer your image to the tile:
color on the back of the image with your pencil
making sure to cover the whole image that is to be traced


center and tape image to tile
with the pencil colored area facing the tile
image to be traced should be face up

take a pen and trace your image


when you take the paper off...
you should see your image on the tile!


paint the image in.
bake (or fire) your tile according to the directions on the paint
(p.s. I also think that contact paper stencils would be a great way to add designs to your tiles)


now to cut the cork.
for the smaller tiles (4.25 in.), I cut 3.5x3.5 inch pieces of cork
for the larger tiles (6 in.), I cut a 5.25x5.25 in. piece of cork
mark with a pen/sharpie


on a safe cutting surface, cut with your knife


I used wood glue to attach the cork to the tiles


apply glue


center the cork on the bottom of the tile
let dry....


Now, you have a nice little piece of art to place your warm cup of coffee on:)
These would also be great in bathrooms...put soap on them, etc...!

Thursday, April 29, 2010

An Interview

You can read my interview over at SYTYC today.
Thanks Missy!

picture will made more sense after you read the interview:)

Tuesday, April 27, 2010

These Will Make Your Necks and Wrists Happy

I added a couple new upcycled/recycled t-shirt items to my Etsy shop today!
I really love how this style turned out!
There are many ideas swirling around in my head...
so hopefully more to come soon!
I also hope to add a couple t-shirt shag rugs too:)

Happy Wrists Upcycled Recycled T-Shirt Beaded Bracelet Shamrock

Happy Necks Upcycled Recycled T-Shirt Beaded Necklace Midnight

Monday, April 26, 2010

Voted off:(

I was voted off in the first round of SYTYC:(
But...I had so much fun!
Thanks to Missy for the opportunity!
I will definitely continue to follow and vote!
Here was my entry.
I will be posting a tutorial soon!
This is a project that anyone can do!

Also, Here is the "bath time" project that I made...

A t-shirt shag rug...made entirely out of recycled t-shirts!

Thursday, April 22, 2010

Happy Earth Day!

Hope everyone has a wonderful day today!
The weather here is less than wonderful (maybe the Earth is trying to tell us something)...but that's okay!
Why don't you celebrate Earth Day today with some Earth-Friendly Crafts (via MarthaStewart.com)!
I'm sure that The Crafty Crow has some great ideas too!
You can find more of my upcycled bracelets here.

Monday, April 19, 2010

Tuesday, April 13, 2010

"My Incentive Plans"

I stumbled upon a blog called "My life...just not on the road I expected (but it's still dang good)" a while back. I started following it to learn more about photography, but it has inspired me in other ways too. I just love this post: My Incentive Plan. Life may not always be what we expected, but it still can be quite good!
Here are my little incentive plans:)

Wednesday, April 7, 2010

SnuggaRoo: Tutorial

Here is the tutorial for the SnuggaRoo .
(my craft from the SYTYC audition)
(Sorry about the pictures...they are horrible!)

Materials:

old fleece jacket or blanket

felt

needle and thread

pins

sewing machine~ optional

Turn fleece jacket inside out and trace shape.

I used a large bowl to make the round shape, and a large book to make the rectangle head shape.

I used chalk to mark the shape onto the black fleece.


You will want two whole circles,

a circle for the pouch (line up with the finished bottom of the jacket- you will want it a little shorter than the other circles)

and cut a length of the finished bottom hem of the jacket for the handle.


You will also want to cut shapes for the ears.

I used a coffee mug to get two round circles.


Fold each circle in half, then cut in half and pin.


Sew around the round edges of the half circles, leaving the strait part open.

Then turn inside out and sew around the edges again.


Now, it's time to pin everything together!

This part...you need to be very careful!

First, I pinned the pocket to the back side circle. Lay the back side facing right side up, then pin the pocket on facing right side up on top of it.

Now we are going to make a sandwich:)

Place the front circle down facing right side up,

line up the handle (curved side down) in the top center of the front circle.

place the two ears on each side of the handle (curved side pointed down towards bottom of circle) with the unfinished edges lined up with the top edge of the circle.

Lastly, place the back side circle (with the pocket) face down on top of the front circle, sandwiching the handle, ears and pocket inside.

The outsides should be the wrong side of the circles.


Pin in place. Pinning all around the edges of the circle.


Sew with your sewing machine (or by hand) all around the edges, leaving a small opening on the bottom- so that you can turn inside out and stuff.


Turn right side out and stuff.
Sew the opening closed by hand.


You should have a pocket on the back, with ears and a handle on top.


Here is the fun part!

Putting on the face!
I just used felt scraps that I had.


Cut the shapes that you like, then stitch them on.

I used a blanket stitch.


I added a fleece nose (also sewn on using blanket stitch), and used a split stitch to embroider the line coming down from the nose.


I embroidered the eyes on using a satin stitch.


Finished!


Perfect for a lazy afternoon spent reading your favorite book!
(**p.s. I found the best embroidery instructions here.**)

Tuesday, April 6, 2010

SnuggaRoo

**I'm working on the tutorial today...hope to have it up tomorrow!**
A pillow that you can snuggle with, play with, and best of all, it has a pouch on the back to put all your favorite things in. Oh, and a little handle on top to help you carry it around!

It was made using only a thrifted fleece jacket, felt scraps and thread. The SnuggaRoo is a great way to take something old and make it new!

These would be great to take on road trips, sleepovers or even just to snuggle with at nap time.
Everyone needs a SnuggaRoo!
(this was my craft from the SYTYC audition)

Monday, April 5, 2010

Dying Eggs...and a Sale!

Hope that everyone had a wonderful Easter!
The kids and I had fun dying eggs. We dyed them using food coloring, water...and balsamic vinegar!...
Yes, we used balsamic vinegar, because we were out of white vinegar. I wasn't sure if it would work...but instead it turned out to be a happy accident!
We got beautiful rich colors!


The fun didn't stop with the eggs!
The kids got to do some water color painting as well:)

Love the colors!


Also, I wanted to let everyone know
that I am having a Sale in my Ebay store.
Toho seed beads and more...20% off!

Sunday, April 4, 2010

Happy Easter!

Happy Easter!
....and Yippeeee....
I made the top 10 in the audition for SYTYC!
That means that I will be participating in the next session (session 3) of SYTYC!
Thanks to all who voted!
Want to know which craft was mine???
It was the Snuggaroo!
I will be posting a tutorial soon:)
Hope that everyone has a wonderful and special day!